
How to Use Props That Make Your Message Stick
From keynote stages to one-on-one pitches, these three prop strategies create the kind of moments people remember.

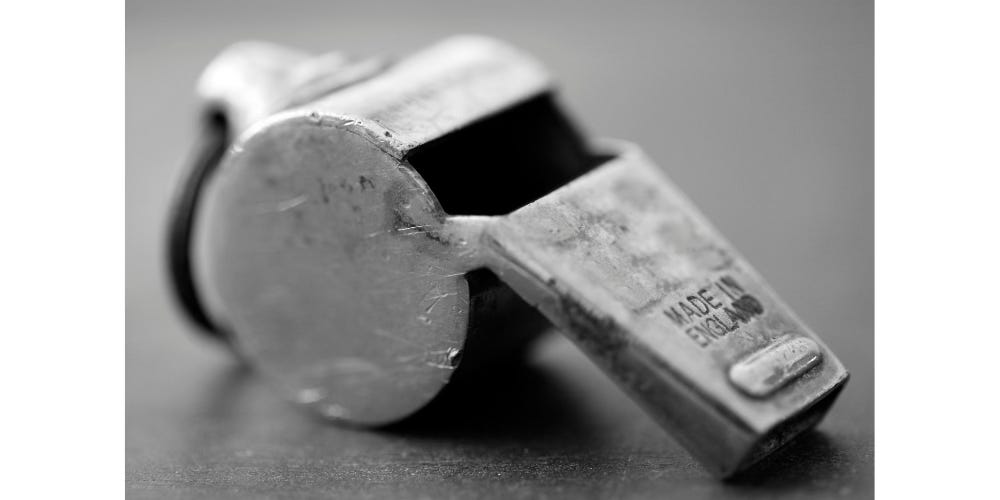
Two weeks ago, I was sitting at one of my workshops on high-stakes presentations, listening to a series of speeches when Phillip opened his talk by blowing a whistle.
It was loud. Unexpected. And that was the point.
He explained that the organization he worked for existed because its founder had the courage to blow the whistle on serious problems she had witnessed. The speech ended with Phillip holding up the whistle and saying:
“One person blowing a whistle can catch your attention, like I did a moment ago, but the sound eventually fades. But what if one becomes 10, 100, 1000? That sound becomes something impossible to ignore.”
I’ve heard the word whistleblower my whole life. And I’ve heard plenty of whistles too—mostly when my youngest daughter had a firefighter costume with the built-in whistle she blew nonstop until one day it “broke.”
But hearing a whistle shriek in the opening seconds of a speech hit differently. It captured exactly what a whistleblower does and why it matters. It was moving. And it made clear just how lonely it can be to be the first one to blow the whistle.
A prop in a speech or presentation can grab attention in a way words alone often can’t. It acts like a visual highlighter, drawing focus and making the moment unforgettable.
I don’t remember much from senior year physics. But I do remember the seven minutes when Mrs. Layton pulled out a jar and placed three big rocks in it, each labeled: Work, Family, and Faith. Then she added smaller rocks, followed by pebbles, sand, and finally water. She explained that you have to make room for the big things first. If you start with the small stuff, there won’t be space for what really matters.
That moment stuck, not because of the words, but because of the prop: the rocks in that jar. I’ve probably thought about that talk a couple hundred times over the last twenty-four years, especially when making big decisions.
Why Don’t People Use Props?
Like anything that grabs attention, they come with risk. When a prop falls flat, it can backfire. If Phillip had blown the whistle multiple times, it would have gone from effective to annoying. Most of us have seen talks where someone used a prop poorly. In my experience, politicians and preachers are often the biggest offenders.
Still, when it comes to speeches or high-stakes presentations, a well-chosen prop can make a point more memorable and engaging than almost anything else.
Instead of focusing on finding the “perfect” prop, it’s more important to understand the purpose it serves and then decide what works best for your audience.
There are three types of props I’ve seen work again and again: the Spotlight, the Mystery, and the Buildup.
The Spotlight Prop
This is the most common type of prop. It's a single item or visual brought into a talk to drive home a point. In the speech I mentioned earlier, it was the whistle. Spotlight props work because they concentrate attention.
Where they go wrong is when they try to be too clever and the audience doesn’t understand the connection. Or when the prop isn't clearly tied to the main message.If you’re putting all the focus on one object, it needs to land. Otherwise, the audience may remember the prop but miss the point.
When it works:
Spotlight props are best when you have a single point you want to highlight. They’re especially effective when you’ve tested them in smaller or lower-stakes settings first. No comedian uses untested jokes in a Netflix special. They refine their material through practice and repetition. Props should be treated the same way.
Examples:
A single photo you hold up (see the final section on correct sizing of props)
Blowing a whistle
A relevant object or item (in the memorable TED Talk below, the speaker holds a real human brain…though I generally recommend avoiding cadaver parts)
When it fails:
These props often fail when they feel disconnected from the message, come off as overly clever, or there’s awkward delivery.
I once saw someone take out a hatchet and drive it into a piece of wood during a pitch. It was definitely memorable. But not in a good way. The visual didn’t match the message, and we were so caught off guard that we started looking for the nearest exit.
The Mystery Prop
This type of prop makes the audience curious. They don’t know where it’s going, but they want to find out.
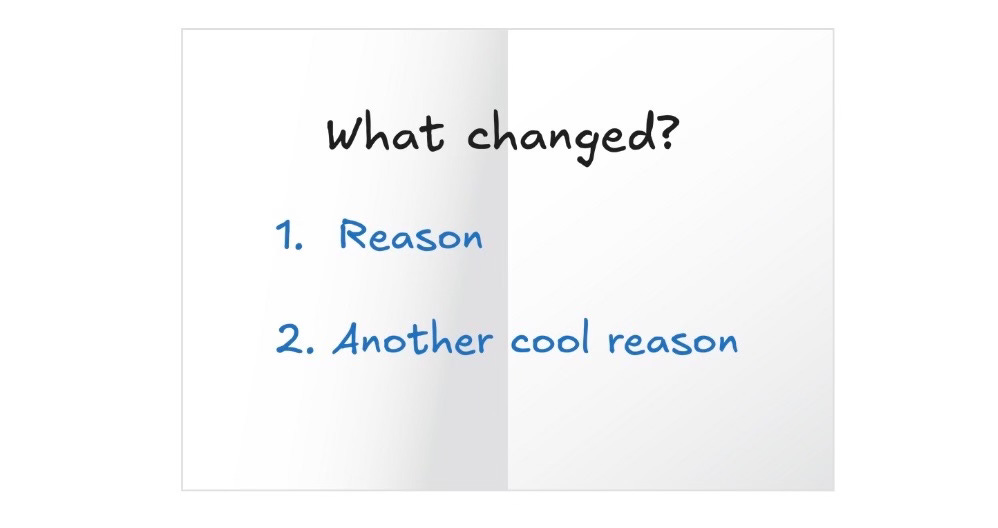
For a pitch, I once designed a two-sided document that looked like a boring government form. But it worked like an advent calendar. As you opened a series of small windows, each one revealed a key point and why it mattered. It held the listener’s attention because each window uncovered new information that helped tell the story behind the document. The design itself reinforced the message.
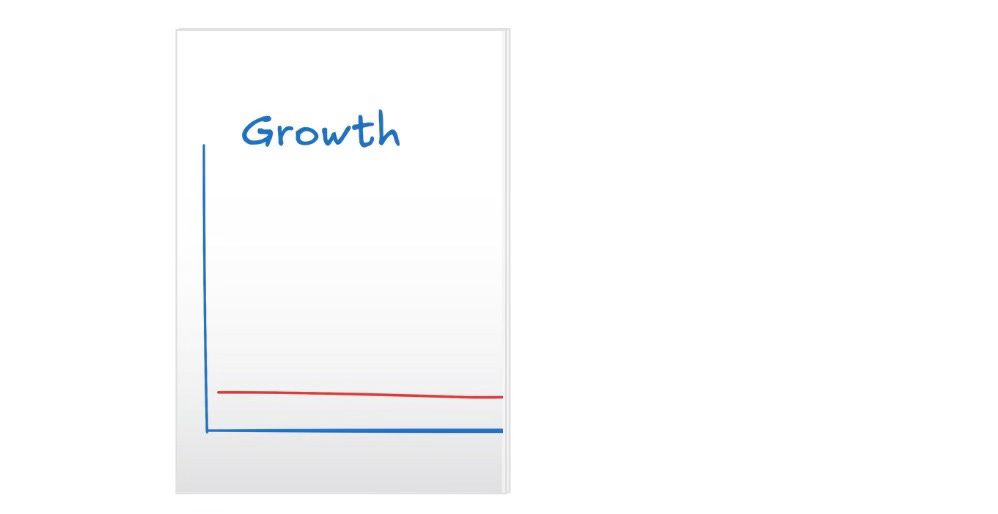
You can also create mystery with something as simple as a chart. Instead of showing the whole thing at once, reveal it piece by piece. Then zoom in on a specific time period or data point that drives your message home. The reveal becomes part of the persuasion.
When it works:
Mystery props are most effective when you have a theme or idea that unfolds over time. The audience stays engaged because they want to see what comes next.
Examples:
Hans Rosling making a point in 52 seconds with 10 rocks
Steve Jobs pulling the MacBook Air out of an envelope
Drawing or writing something during a talk (especially in one-on-one settings—my brother calls this the “Poor Man’s PowerPoint”)
When it fails:
This approach falls flat when there’s no real mystery or the audience figures it out too quickly. Once that happens, you lose their attention.
The Buildup Prop
This type of prop builds momentum as the talk progresses. The audience may or may not know where you're going, but the unfolding process keeps them interested. It usually ends with a “wow” moment when the power of the visual really lands.
That’s what happened with the jars and rocks in my high school physics class. After pouring in the sand, we thought the jar was full. But then came the water. Each layer added meaning, and by the end, the visual said more than words ever could.
One of my favorite versions of this approach is something I call the Map Fold (see visual below).
You start with a single oversized sheet of paper, folded into fourths.
Start: Side one shows an image or idea. You begin by walking through what’s there.
Unfold: Open the second panel to reveal more of the visual.

Flip: Turn over the partially opened sheet to show another point or image.
Reveal: Fully open and flip the sheet to reveal a final idea that ties everything together.
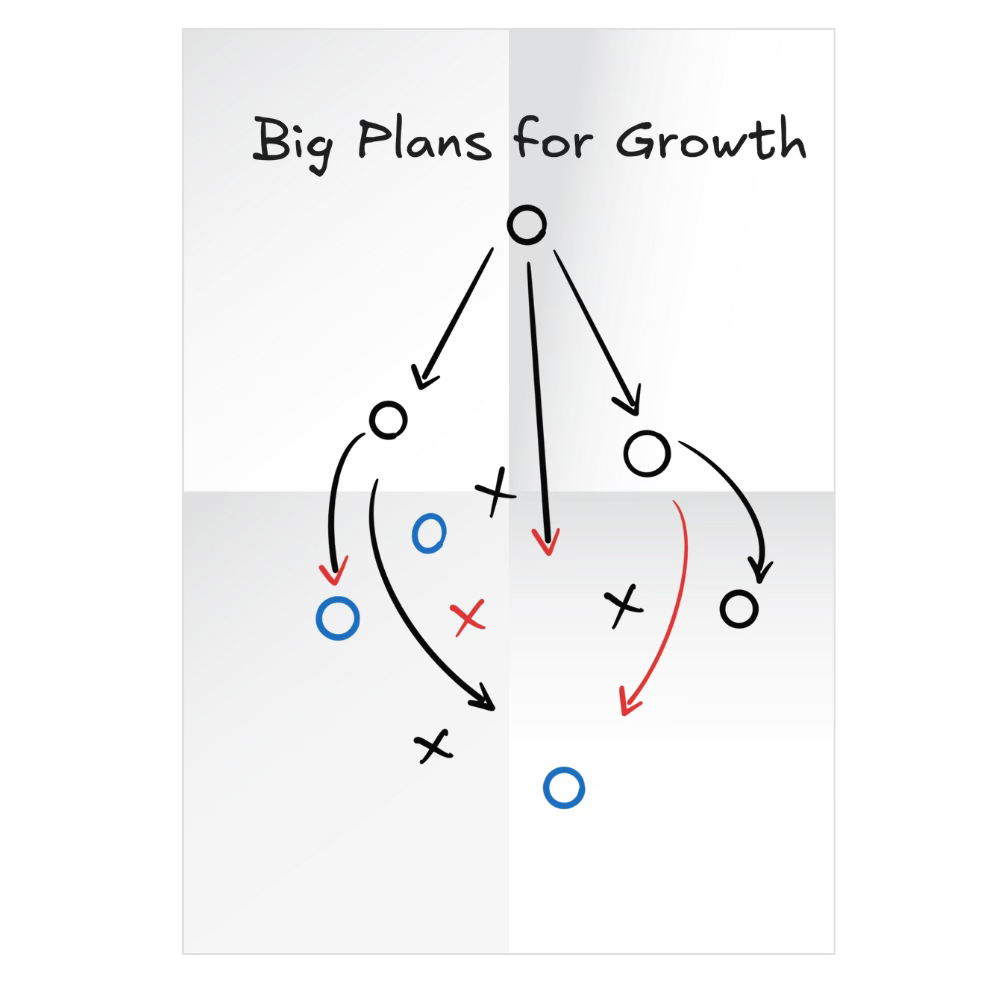


Each step builds momentum, and the final reveal gives the talk a satisfying conclusion.
When it works:
The build-up works when each step adds tension or clarity, and the final reveal ties everything together. It keeps the audience engaged and delivers a satisfying payoff that reinforces your message.
Examples
The jars and rocks visual about prioritizing your life (this video shows it with golf balls)
A flipchart or sketch that slowly builds a diagram
A folded paper or tri-fold that opens to reveal a final “wow” takeaway
Layered visuals in a slide deck or live demo that builds meaning step-by-step
When it fails:
It falls flat when the steps feel disconnected or the payoff doesn’t land. If the audience can’t follow where you’re going, or the ending feels weak, you lose their attention before the point is made.
Making It Work
Knowing the right type of prop is just the beginning. You still have to make it, size it, and practice it until it lands cleanly.
Creating Your Prop
When brainstorming with clients, we usually start by talking through a few rough ideas, then build a quick prototype. Think paper, notecards, and a Sharpie. Whatever you have on hand.
Try a simple version in the real world before involving a designer or making anything polished. A prop’s effectiveness has less to do with design and more to do with clarity and timing. Test that first.
Sizing Your Prop
There’s a rule of thumb in signage: for text to be readable, the letters should be one inch tall for every ten feet of viewing distance. If the back of the room is 30 feet away, use letters that are at least 3 inches high.
Photos are even trickier. A better rule for images is two inches of face height for every ten feet. If you want someone in the back row to see the expression on a face in a printed photo, that face should be at least 6 inches tall at 30 feet.
The best thing is always test the physical version in the actual, or similar sized space. Check the lighting, distance, and angles to make sure the visual lands just as well in the back row as it does in the front.
Practicing with Your Prop
Once you’ve chosen your prop, practice using it—literally. Rehearse every movement. If you’re in a small room, where will the prop be before you use it? If it’s in your bag, how will you take it out without fumbling?
If you’re on a stage, where does it go after you show it? Do you need a small table? Will you need to bend down behind a podium? Practice those motions. The goal is to make your prop feel like a natural part of your delivery—not an awkward interruption.
The key is simple: practice until the prop feels as comfortable as your opening line.
Bottom Line:
For your next high-stakes presentation, decide to stand out and use a prop. But be smart—think through what kind of prop will drive home your most important point. Is there one thing you want to spotlight? Is it something that creates mystery? Or do you want to build momentum as you make your case?
Pick one, prototype it, test it live, and practice it until it’s smooth. You’ll stand out, and your message will stick.
Takeaway: Avoid hatchets, consider whistles, especially if they fit into the context. It's all no good if you're only remembered for the prop.